Every photographer, no matter how experienced, has made their share of mistakes. The difference is that professionals learn from theirs. When you're just starting out, it's easy to fall into certain traps over and over again – the kind of mistakes that are incredibly easy to avoid, once you know what they are and how to fix them .
In this guide, I'll walk you through the 10 most common photography mistakes made by beginners, covering composition, camera settings, lighting, and more. Whether you're shooting with a smartphone or your first mirrorless camera, these tips will help you level up your photography instantly.
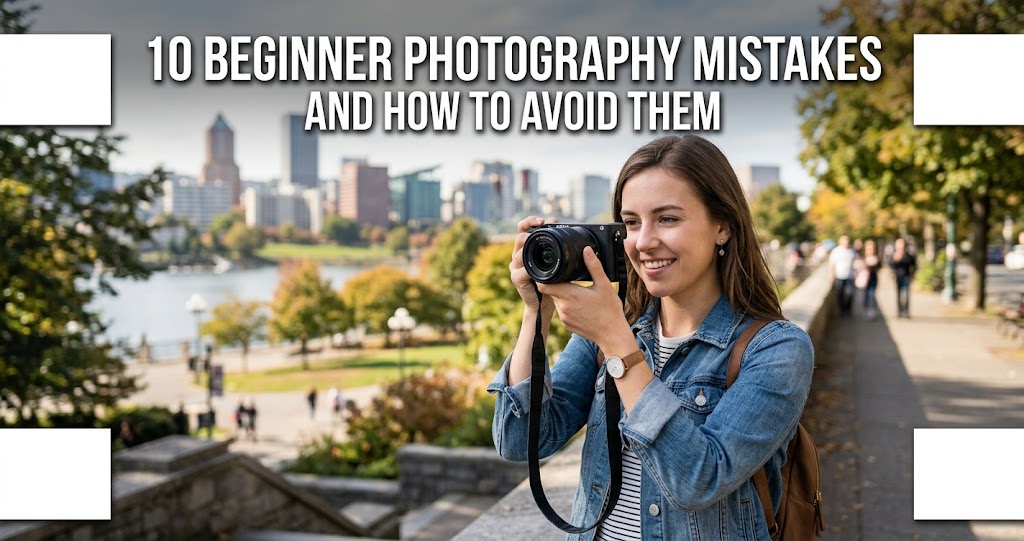
Top 10 Beginner Photography Mistakes
1 Centering Everything
When you're just starting out, it's often tempting to place everything in the center of your images. People, trees, buildings, and even horizon lines—it all gets positioned smack-dab in the middle of the frame .
Why it's a problem: While centering the main subject can sometimes work, it usually doesn't. A centered subject cuts the image in half and leaves people confused and unsure of which half of the shot to focus on. Additionally, a centered image can look rather static and boring .
The Mistake
Putting your subject dead center creates a static, uninteresting composition that lacks visual tension .
The Fix
Use the rule of thirds: place your subject on one of the grid lines or at an intersection point. This creates balance while making the image more dynamic and engaging .
Pro tip: Enable the grid overlay on your camera or phone. It's one of the fastest ways to improve your composition .
2 Crooked Horizon Lines
A crooked horizon is one of the clearest signs of an amateur photo. It's distracting and looks unprofessional .
Why it's a problem: Our brains expect horizons to be level. When they're not, it creates an unconscious sense of unease. The viewer notices something is "off," even if they can't immediately identify what .
How to fix it:
- Use your camera's electronic level if it has one. Many photographers use this almost all the time .
- Enable grid lines in your viewfinder to help keep things straight.
- Fix it in post-processing – it's not that professionals have perfectly trained hands, they just straighten images later
Most editing software has a simple straightening tool. It takes seconds and makes a huge difference.
3 Including Distractions in the Frame
It's easy to be pulled into a scene by a compelling main subject—a beautiful building, a vibrant flower, or an interesting person. But no matter how breathtaking your subject, you also need to pay attention to the other objects in the frame .
Why it's a problem: Beginners often include elements that take focus away from the main subject: bushes, lampposts, passersby, bright spots, or random objects at the edges .
How to fix it: Before pressing the shutter, do a quick review of the entire frame. Check the edges. Look behind your subject. If there are distracting elements, adjust your angle or framing until they disappear . Sometimes even standing one tile over can ruin an otherwise perfect shot .
4 Cutting Off Key Elements
It's amazing how easy it is to cut off key elements—like a person's feet, hands, or the top of their head—without realizing you've messed up . The same happens with buildings: you'll photograph a church but cut off the tips of its spires, or truncate the top of a tree .
Why it's a problem: These little things aren't often apparent until they're pointed out, but once you've been made aware, it's impossible to unsee them. Accidental cropping looks amateurish and careless.
How to fix it: Learn to identify your subject and make sure they're completely within the boundaries of the frame. If you can't fit your entire subject in the shot, make intentional decisions about what to include and what to crop. It's possible to successfully crop part of a subject, but you have to do it deliberately so it looks intentional .
5 Always Shooting from Eye Level
Tourist photos tend to look like they were taken by tourists, mostly because they're shot from eye level. It's the default, the easy choice—and it produces predictable results .
Why it's a problem: Eye-level shots are what everyone sees every day. They lack novelty and visual interest. Every subject has its conventional viewpoints, and if you only ever take the clichéd shot, you'll never end up with anything original .
How to fix it: If you simply squat down, you get a different, more interesting perspective . Get low to the ground, climb to a higher vantage point, move left or right. Spend time approaching your subject from various angles. Walk around it, get down low, shoot from up high, zoom in close . As you take more shots, you'll start to see what works and what doesn't.
6 Staying in Auto Mode
Auto mode tells your camera to handle everything—focusing, exposure, white balance. When you're just starting, this can be helpful, especially if you just want to capture nice family photos .
Why it's a problem: Your camera can't read your mind. It doesn't know the precise effects you're after. While it generally does a good job, relying on Auto mode prevents you from developing real skills .
How to fix it: Start with semi-automatic modes. Aperture Priority mode lets you set ISO and aperture while the camera chooses shutter speed—it's great for learning . By dialing in settings manually, you can ensure each image reflects the shot you imagined .
We advise you to slowly decrease the use of automatic mode and start taking photos manually .
7 Forgetting to Reset Settings
This mistake is made by tons of photographers—not just beginners. Even professionals mess this up from time to time .
Why it's a problem: You head out to shoot, adjust settings for specific subjects and lighting scenarios. Then next time, you forget you tweaked those settings. The ISO is far too high, or the aperture is extremely wide, and you don't realize until you get home that none of your photos turned out right .
How to fix it: Always put your settings back to a "default" at the end of each shoot. If you raised the ISO, put it back down. If you widened the aperture, set it to f/8 . Before starting a new shoot, take a moment to check your camera mode, aperture, ISO, shutter speed, and focus mode .
8 Not Protecting Highlight Detail
If there's one change to photographic technique that most consistently yields better and more usable images, it's this: exposing to preserve highlights .
Why it's a problem: Blown highlights (areas of pure white with no detail) are generally a bigger danger than blocked-up shadows. A bit of shadow that's pure black is usually less offensive in most images than a section of sky that's burned to a white blob .
Use your camera's histogram. Ensure it isn't "off the scale" to the right (overexposed). If you see clipping, underexpose slightly—you can recover shadows later, but blown highlights are gone forever .
Shoot in RAW format for better latitude to adjust both shadows and highlights in post-processing . JPEG files are compressed and lose information that can't be recovered .
9 Being Afraid to Raise ISO
This is a very common beginner error. You've learned that ISO 100 gives the cleanest images, so you keep it there—even when it means your shutter speed is too slow and your photos come out blurry .
Why it's a problem: A blurry photo is far worse than one with a little noise. By keeping ISO too low, you miss shots entirely .
How to fix it: Modern cameras handle higher ISO much better than you think. Editing software like Photoshop can effectively reduce noise . Plus, noise isn't always bad—sometimes it adds character, especially in black and white images .
To prevent using an ISO that's too high when necessary, you can set a maximum ISO value. The camera won't exceed this value when ISO is set to auto .
10 Not Asking for Help
Capturing great photos is hard. Even if you're afraid of looking foolish or getting rejected, you should never be afraid to ask for help .
Why it's a problem: Photography is a journey, and no one makes that journey alone. Every expert was once a beginner who had questions. Staying silent means you'll repeat mistakes that others could have helped you avoid.
How to fix it: Email your favorite photographers and ask their advice. Join online discussion groups. Go to in-person photography events. Generally, photographers are more than happy to help someone who wants to learn .
Bonus Mistakes to Watch For
- Not having a clear subject: Photos without a clear subject or with too many competing elements rarely work. Move closer to isolate your subject .
- Forgetting the background: Always check what's behind your subject—objects can appear to grow out of people's heads .
- Over-processing: Whether through too much saturation, contrast, or heavy effects, there's a point where a photograph ceases to resemble reality. Everyone will notice, and not in a good way .
- Gear obsession: Having a great camera won't make up for lack of technique. It's the person behind the lens that matters most .
Pre-Shoot Checklist
Learning from Your Mistakes
If you're not interrogating your own past work, you're missing out on endless inspiration . After each shoot, review your images critically. Ask yourself what worked and what didn't. Identify patterns in your mistakes—once you see them, you can fix them.
One photographer friend told a story about shooting in a cathedral and getting all black images. She started to panic—until she calmed down and realized her ISO was too low . When you run into issues, take a deep breath and calmly check your settings. There's almost always a reasonable explanation .
Your 7-Day Improvement Challenge
- Day 1: Focus on the rule of thirds—enable grid lines and consciously place subjects off-center.
- Day 2: Check horizons. Use your camera's level or straighten in post.
- Day 3: Scan edges for distractions before every shot.
- Day 4: Experiment with angles—get low, climb high, move around.
- Day 5: Shoot in Aperture Priority mode instead of Auto.
- Day 6: Practice exposing for highlights—watch your histogram.
- Day 7: Review and delete ruthlessly. Keep only your best shots.
Final Thoughts
Every photographer messes up, no matter their level of experience. The key is recognizing these common mistakes and taking steps to correct them .
There's nothing wrong with making mistakes—as long as you learn from them. The more you practice, the more these good habits become second nature. And soon, you'll find yourself capturing consistently great images without even thinking about it.