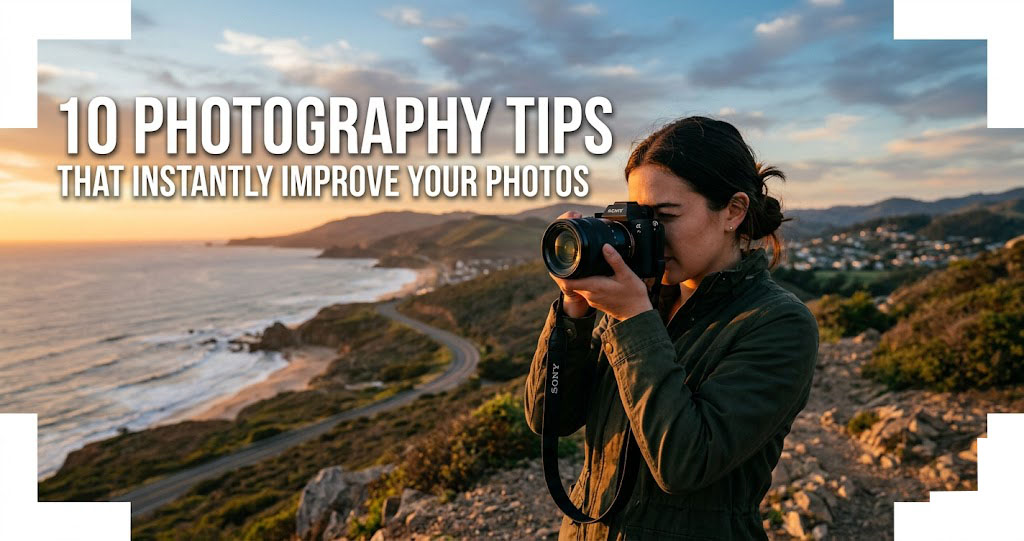
The secret to taking professional-grade photos isn't a $5,000 camera—it's mastering a few fundamental techniques that instantly elevate your work. Photography is more than pressing a button—it's about capturing light, emotion, and stories in a single frame . Many beginners feel overwhelmed by complex cameras and endless tutorials, but with the right foundation, anyone can move from blurry snapshots to clear, professional-looking images . This guide compiles ten actionable tips from working professionals that will improve your photography immediately—no expensive gear required.
📸 10 Tips That Work Immediately
Master the Rule of Thirds
The rule of thirds is probably the most popular principle of photography composition . Instead of placing your subject dead center, divide your frame into nine equal sections using two vertical and two horizontal imaginary lines. Position your subject where these lines intersect—this creates a more balanced, dynamic, and naturally engaging image .
This technique shifts the viewer's perception and makes the subject stand out . It's simple, it's instant, and it works for landscapes, portraits, and street photography alike.
Try this today: Enable the grid overlay on your camera or phone. For your next 20 shots, consciously place your subject on an intersection point. Compare them to your centering shots—you'll see the difference instantly.
Fill the Frame
War photographer Robert Capa famously said, "If your pictures aren't good enough, you're not close enough" . Filling the frame means including only the elements that need to be there—nothing more .
Pay close attention to your subject, the foreground, the background, and especially the edges of your frame . Eliminate distractions. If an element doesn't add value—visually or emotionally—leave it out . This immediate edit transforms cluttered snapshots into intentional photographs.
Practice: Before pressing the shutter, scan all four edges of your viewfinder. Ask: "Does everything here belong?" Remove distractions by zooming in, moving closer, or changing your angle.
Focus on the Eyes
For portraits, nothing matters more than sharp, captivating eyes. Portraits with tack-sharp eyes bring life to the image and instantly captivate the viewer . The eyes are the window to the soul—if they're soft, the entire portrait fails.
Use a single autofocus point and place it directly on your subject's nearest eye. If you're shooting with a smartphone, tap on the face to ensure focus locks there. Modern cameras with eye-detection AF make this automatic, but always verify—especially with moving subjects.
Pro tip: In group portraits, focus on the eyes of the person closest to the camera. At typical portrait apertures (f/2.8–f/4), this ensures everyone looks sharp.
Shoot During Golden Hour
Golden hour—the hour after sunrise and the hour before sunset—is prized by photographers for its soft, directional light and warm tones . During this time, the sun is low in the sky, creating long, soft shadows and a natural golden glow that flatters any subject .
The light is warm, naturally diffused, and incredibly flattering—you'll see a visible difference between photos shot in harsh midday sun and those captured during golden hour . For landscapes, portraits, and even street photography, this is the magic window.
Action step: Check a sun position app (like PhotoPills or Sun Surveyor) and plan one shoot during golden hour this week. You'll never go back.
Use Diffusers and Reflectors
When golden hour isn't available, simple tools help you shape light. Reflectors bounce light back onto your subject, filling in shadows, while diffusers soften harsh sunlight . These tools are lightweight, affordable, and essential for shooting in midday or uneven lighting conditions .
A collapsible 5-in-1 reflector (white, silver, gold, black, and translucent diffuser) costs around $30 and will transform your portraits instantly. White gives neutral soft fill; silver adds punchy highlights; gold warms up skin tones; and black creates contrast by subtracting light. The diffuser panel softens direct sun like a cloud.
DIY alternative: No reflector? Use a white wall, a foam board, or even a white t-shirt to bounce light. For diffusion, a thin white curtain or a translucent umbrella works in a pinch.
Use Leading Lines
Leading lines are lines within the frame that draw the viewer's eye toward the main subject or point of interest . These lines can be straight, curved, or diagonal—roads, rivers, tree branches, buildings, or bridges all create natural paths for the eye to follow .
A single leading line, such as an S-curve, can create a strong visual path through your image. Alternatively, multiple lines converging toward the focal point create dramatic depth and perspective .
Look for: Roads disappearing into the distance, railway tracks, fences, shorelines, architectural lines, shadows, and even rows of trees. Position yourself so these elements guide attention to your subject.
Frame Within a Frame
A photograph is inherently two-dimensional, but you can create an illusion of depth by using elements in the foreground to frame your subject . Archways, windows, doorways, tree branches, or even people can create a natural frame that isolates your subject and adds context .
The frame doesn't have to cover all four sides—sometimes a smaller object along the edge is enough to achieve this effect . Use a low f-number (f/1.4–f/2.8) to blur distracting elements while keeping the frame visible .
Examples: Shoot through a window, under an arch, between two trees, or over someone's shoulder. This technique adds instant depth and professionalism.
Master the Exposure Triangle
Every photo is shaped by three settings—aperture, shutter speed, and ISO. Together, they form the exposure triangle . Aperture controls depth of field (blurry background vs. everything sharp). Shutter speed controls motion (freezing action or showing blur). ISO controls your sensor's sensitivity to light (and introduces noise when pushed) .
Beginners often ignore the holy triangle, which makes the learning process slow . But mastering these three settings gives you creative freedom to decide exactly how your images look .
Exposure Triangle Quick Reference
Challenge: Spend one day shooting in Aperture Priority mode, the next in Shutter Priority. Watch how your creative choices change. Then move to full Manual.
Choose the Right Autofocus Mode
Your camera offers different autofocus modes for different situations. One Shot (AF-S) locks focus on a stationary subject and is perfect for landscapes, product shots, and posed portraits . AI Servo (AF-C) continuously adjusts focus for moving subjects—essential for sports, wildlife, and children .
Many beginners leave their camera in the wrong mode and wonder why action shots are blurry. If your subject moves, switch to continuous AF. If they're still, use single-shot for precision.
Modern advantage: Newer cameras with AI-powered subject recognition (animal, human, vehicle tracking) do the work for you—but you still need to select the right mode for the situation .
Edit With Intention
Editing doesn't mean faking photos—it's about enhancing what's already there . Basic adjustments like cropping, exposure correction, contrast, and color balance can transform an average photo into a professional-looking one without losing authenticity .
Start with these essentials: crop to improve composition, adjust exposure to fix brightness, increase contrast for punch, tweak white balance for accurate colors, and selectively sharpen important areas (like eyes) .
Tool recommendations: Adobe Lightroom is the industry standard; free alternatives like Darktable, Snapseed (mobile), or Canva offer powerful basic editing . Avoid over-editing—keep your photos natural and appealing .
📋 Quick Reference: 10 Tips at a Glance
Beyond the Tips: Developing Your Eye
These ten techniques will improve your photos immediately, but great photography ultimately comes from intentional practice. Composition is the placement or arrangement of visual elements based upon why you are taking the shot, what your subject is, and how you want people to feel about the scene .
As you shoot, ask yourself: Why am I taking this shot? What is my subject? How do I want the viewer to feel? This framework—not rules—will guide you to stronger images .
Don't be afraid of imperfection. Asymmetry, unbalanced elements, and unexpected details can make your images more engaging and dynamic . And remember: "Your BEST shot is your NEXT shot!"