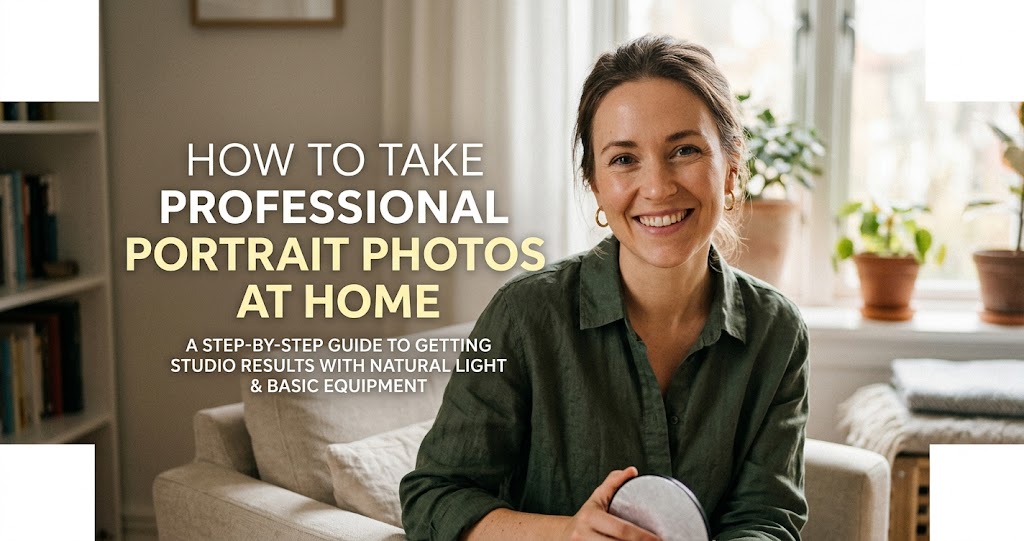
You scroll through Instagram and see crisp eyes, creamy backgrounds, and natural skin tones—and wonder why your portraits at home don't match up. The good news? You don't need a full studio or a six-figure camera body to nail indoor portraits . With the right approach, smart lighting, and a few key tricks, you can get professional-looking results with minimal fuss . This comprehensive guide walks you through everything you need to know to take stunning portrait photos at home—using whatever gear you already have.
The Foundation: Gear That Matters
1 Invest in a Fast Prime Lens
Many photographers assume a more expensive camera body equals better portraits—but the lens often makes the bigger difference . A wide aperture (low f-number, like f/1.8) does two key things indoors:
- Lets in more light, keeping your photos bright without cranking ISO
- Creates that creamy background blur that makes your subject pop
Most kit lenses can't open wide enough, which is why indoor portraits sometimes look flat or cluttered. Prime lenses solve this. They don't zoom, but they deliver sharper results and wider apertures—making them some of the most valuable portrait photography gear you can invest in .
The 50mm f/1.8 lens is a classic choice for indoor portraits: affordable, versatile, and perfectly suited to capturing natural-looking faces without distortion .
2 Choose the Right Camera for Indoor Portraits
Both DSLR and mirrorless cameras can capture stunning indoor portraits. Still, mirrorless systems have an edge for beginners or casual shooters—especially when light conditions change, or you need quick feedback on exposure and focus . Mirrorless bodies show a live preview of your final image, so brightness, depth-of-field, and color adjustments appear instantly—a huge advantage in mixed or tricky indoor lighting .
Key feature to look for: Eye Autofocus (Eye AF). This detects faces and locks focus on the subject's eyes—even if they move. Perfect for kids, pets, or candid shots indoors, it instantly improves consistency .
Mastering Light: Your Most Powerful Tool
3 Use Window Light Like a Pro
Before investing in extra lights, look around your home. A window can be your best tool .
Place your subject 3–6 feet from a plain wall, with the window at a 45° angle to their face . This creates what's called "Rembrandt lighting"—soft shadows, natural skin tones, and a sense of depth . Turn off overhead lights to avoid mixed colors .
Pro tip: The best window light happens when the sun isn't directly streaming in. North-facing windows provide consistent soft light all day. If you get harsh direct sun, diffuse it with a thin white curtain or a white sheet .
4 Bounce Light with Simple Reflectors
When using window light, shadows can fall across faces. A reflector bounces light back onto your subject, filling in shadows gently while preserving that natural look .
DIY reflector options: White foam board or poster board, silvered car windscreen sunshade, aluminum foil (matte side), or even a white sheet . Professional 5-in-1 reflectors are affordable and offer white, silver, gold, black, and translucent options.
Place the reflector opposite the window, close enough to fill shadows but not so close that it creates unnatural light. The closer the reflector, the more it fills shadows—giving you control over the lighting in your shot .
5 Build Your Own Studio Lighting (For Under $50)
You don't need expensive professional flashes to take good portraits . David Williams, in a recent camera club workshop, demonstrated using cheap LED lights from a hardware store, adding DIY modifiers to provide a variety of effects .
- Black card as "flags": Restrict the spread of light to create a narrow or wide beam
- Translucent plastic or baking paper: Diffuses light for a much softer effect
- Silvered packaging material: Works as an excellent reflector
Since these cheap lamps aren't extremely bright, place them quite near the subject. One photographer used 1/25 sec at ISO 1000 with a static subject, and the results were pin-sharp .
6 Master the Three-Point Lighting Setup
Professional studio portraits often use a "three-point lighting" setup. Here's how to adapt it for home :
- Key light (main light): Place at 45° to the subject, slightly above eye level. This shapes the face and creates dimension .
- Fill light: Position opposite the key light, or use a reflector. This softens shadows and reduces contrast .
- Hair/back light: Place behind the subject, angled toward hair and shoulders. This separates them from the background .
Even with just one light and a reflector, you can achieve professional results. Move your light around and observe how shadows change—this is the fastest way to learn .
Backgrounds and Composition
7 Create Clean, Professional Backgrounds
A cluttered background ruins otherwise great shots. For home portraits, you have several options :
- Plain wall: Light-colored walls work perfectly. Position subject a few feet away to avoid shadows .
- Fabric backdrop: A simple bedsheet or piece of fabric, ironed smooth and clipped to a wall .
- Artist's canvases: In a workshop demonstration, two cheap artist's canvases daubed with paint created depth—the one nearer the camera was lighter in tone than the one behind .
- Seamless paper: For product-style portraits, a white paper sweep creates an "infinity" effect .
Use a wide aperture (f/1.8–f/2.8) to blur the background, making even ordinary spaces look intentional .
8 Compose for Impact
- Focus on the eyes: Use single-point AF and place it on the nearest eye. Nothing ruins a portrait faster than soft eyes .
- Leave space: Don't crop too tightly in-camera—you can always crop later, but you can't add what's missing .
- Shoot from multiple angles: Get down low, shoot from above, move around your subject. This keeps things fresh and gives you options .
- Use leading lines: Edges of furniture, door frames, or even shadows can guide the eye toward your subject.
Camera Settings for Sharp, Beautiful Portraits
9 Dial in the Right Settings
Shoot in Manual mode: In AUTO mode, you lose all control. Manual mode gives you full creative command .
- Aperture: f/1.8–f/2.8 for strong background blur; f/4–f/5.6 if you want more of the scene in focus .
- Shutter speed: For static portraits, 1/100 sec is a good starting point. For kids or moving subjects, use 1/250 sec or faster .
- ISO: Keep as low as possible (100–400) for clean images. Modern cameras handle higher ISO well—don't be afraid to raise it rather than using too slow a shutter .
- File format: Shoot RAW! It gives you far more flexibility in editing .
- White balance: Set manually to match your light source (daylight for window light, tungsten for household bulbs). Auto WB can kill the warmth .
For smartphone shooters: Tap to focus on the face, then slide the exposure control down slightly to preserve highlight detail. Use portrait mode if available .
10 Direct Your Subject with Confidence
- Angle the body: Have your subject turn slightly—shoulders at an angle to the camera, not square-on. This is more flattering .
- Chin forward: Ask them to push their chin slightly out and down. This defines the jawline .
- Eyes toward the light: Position them so the catchlight (reflection in eyes) is visible .
- Give them something to do: Lean against a wall, hold a cup of coffee, sit in a chair. This creates natural, relaxed poses .
- Take lots of frames: Keep it fun, treat it like a game. Later, pick the best expressions .
Editing Your Home Portraits
11 Edit with Restraint
Editing should refine, not rescue. Here's a simple workflow :
- White balance: Adjust to remove color casts (too yellow or too blue).
- Exposure and contrast: Fine-tune overall brightness and add slight contrast for pop.
- Shadows and highlights: Recover detail in bright areas and lift shadows slightly.
- Clarity and vibrance: Use sparingly—a touch of clarity on eyes can enhance them.
- Crop and straighten: Improve composition and ensure horizons are level.
Apps like Lightroom, Snapseed (free), and even Canva offer powerful editing tools . Enable profile corrections to fix lens distortion .
Quick DIY Setup Cheat Sheet
Real-World Experience: What Actually Works
The "I need a LinkedIn headshot by tonight" sprint: A lot of people start with panic energy and a random wall. The breakthrough is simple: move near a window, turn off the ceiling light, and suddenly the light softens. Then add a piece of white poster board on the shadow side, and the photo goes from "I took this in my house" to "I might work here" .
The family portrait that turns into a mini movie set: Families often try this thinking, "We'll do it in 15 minutes." Then the toddler becomes a blur-powered superhero. The best outcomes happen when they set the camera first (fast shutter speed), choose one spot with stable light, use a tripod and timer, and run into frame. Volume is key—they take lots of frames and keep it fun .
Common Mistakes to Avoid
Do
- Use a fast prime lens (50mm f/1.8) for better light and blur
- Position subject near a window at 45°
- Use a reflector or white board to fill shadows
- Turn off overhead lights to avoid mixed colors
- Focus carefully on the eyes
- Shoot in RAW and edit with restraint
Don't
- Rely on kit lenses—they don't open wide enough for indoor portraits
- Place subject facing opposite the window—it makes them dark
- Use overhead ceiling lights directly—creates unflattering shadows
- Ignore the background—cluttered spaces distract
- Over-edit skin—keep it natural
Your 7-Day Home Portrait Challenge
- Day 1: Find your best window light—shoot at different times of day, compare results.
- Day 2: Make a DIY reflector from foam board or cardboard + foil.
- Day 3: Practice with a 50mm f/1.8 lens (or borrow one). Shoot at f/1.8, f/2.8, and f/4.
- Day 4: Build a simple backdrop—a sheet, painted canvas, or plain wall.
- Day 5: Shoot 50 frames of someone, experimenting with angles and poses.
- Day 6: Try a DIY lighting setup with a desk lamp + baking paper diffuser.
- Day 7: Edit your five best shots with a light touch.
Final Thoughts: Your Home, Your Studio
Once your gear works with you, indoor portrait photography stops being frustrating and starts being fun . Every shot becomes an opportunity to capture connection, expression, and personality—turning everyday spaces into professional-looking portraits .
Start with the essentials: a capable body (or even your phone), a high-quality lens (the 50mm f/1.8 is your best friend), and a window for soft light . Add a DIY reflector and a simple backdrop, and you have everything you need.