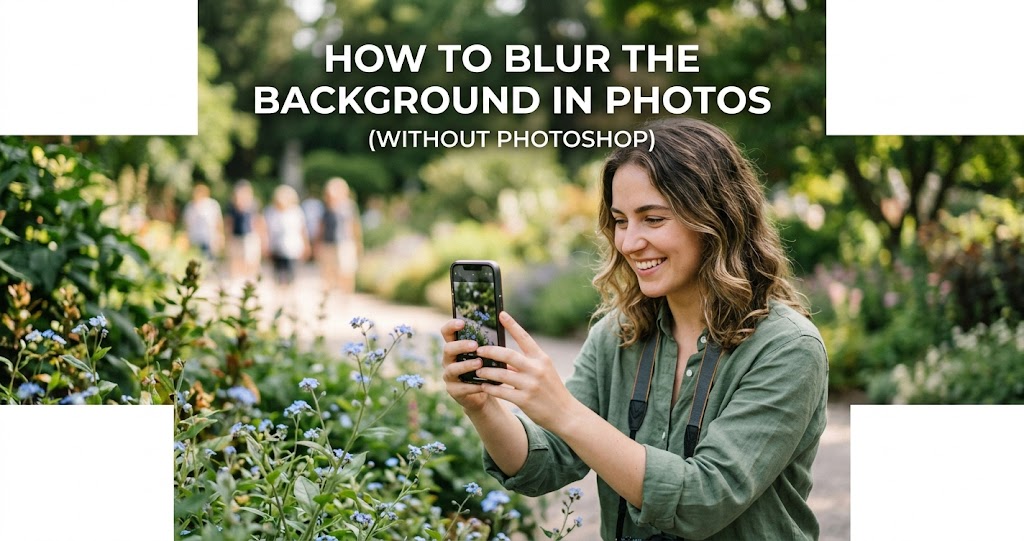
You've seen those portraits where the subject is razor-sharp and the background melts into a beautiful, creamy blur. That effect — known as bokeh — is one of the most sought-after techniques in photography. It separates your subject from the background, adds depth, and instantly makes your photos look more professional .
The good news? You don't need expensive editing software or years of experience to achieve this look. With a few simple techniques, you can blur backgrounds directly in-camera using any camera — even a smartphone. This guide covers five foolproof methods to get that dreamy background blur without ever opening Photoshop.
Method 1: Use a Wide Aperture (The Most Important Technique)
1 Shoot with the Widest Aperture Possible
Aperture is the opening in your lens that lets light through to the sensor. It's measured in f-stops — and here's the key: the lower the f-number, the wider the aperture, and the blurrier the background becomes .
If you're using a DSLR or mirrorless camera, switch to Aperture Priority mode (often marked "A" or "Av" on your dial). Then, set your aperture to the smallest f-number your lens allows — typically f/1.8, f/2.8, or f/4 . The camera will automatically adjust the shutter speed for a correct exposure.
Pro tip: Prime lenses (lenses with a fixed focal length, like 35mm or 50mm) often have much wider maximum apertures than zoom lenses. A 50mm f/1.8 "nifty fifty" is one of the most affordable and effective lenses for achieving beautiful background blur .
Method 2: Get Closer to Your Subject
2 Decrease the Distance Between Camera and Subject
The closer you physically move your camera to your subject, the shallower your depth of field becomes . This is one of the easiest techniques to master — just take a few steps forward.
Get Closer
- Makes depth of field shallower
- Creates more background blur
- Emphasizes your subject
Stay Far Away
- Makes depth of field deeper
- Reduces background blur
- Subject blends into background
There's a catch, though: getting too close can cause distortion, especially with wide-angle lenses. For portraits, aim to fill the frame without getting uncomfortably close. If you can't get physically closer, use a longer focal length (zoom in) instead — which brings us to the next technique.
Method 3: Increase the Distance Between Subject and Background
3 Move Your Subject Away from the Background
This is arguably the most powerful technique for achieving background blur, and it costs nothing. Simply move your subject as far away from the background as possible . The greater the distance between your subject and whatever is behind them, the blurrier that background will appear .
Example: Instead of posing someone against a wall, move them 10-15 feet in front of it. Even at f/4, the wall will become a soft, pleasing blur. This technique works with any camera — even smartphones.
Method 4: Use a Longer Focal Length
4 Zoom In or Use a Telephoto Lens
Longer focal lengths (telephoto lenses) compress perspective and naturally produce shallower depth of field compared to wide-angle lenses . If you have a zoom lens, zoom all the way in. If you have a prime lens, try a longer one — 85mm or 135mm are excellent for portraits .
Pro tip: When using a telephoto lens, you'll need to stand further back to frame your subject properly. That's fine — the longer focal length will compress the scene and make the background appear larger and more blurred .
Method 5: Combine All Four Techniques for Maximum Effect
5 Stack the Techniques Together
For the most dramatic background blur, combine all the methods above simultaneously:
- Use the widest aperture your lens allows (lowest f-number, like f/1.8 or f/2.8)
- Get as close to your subject as composition allows
- Move your subject far away from the background
- Use a longer focal length (zoom in or use a telephoto lens)
How to Blur Backgrounds with a Smartphone
6 Use Portrait Mode (But Understand Its Limits)
Modern smartphones use computational photography to simulate background blur. Portrait mode works by using dual cameras (or AI depth mapping) to separate the subject from the background and apply a digital blur .
How to get the best results:
- Ensure adequate lighting — Portrait mode struggles in dim conditions
- Keep the subject within 2-8 feet of the camera
- Make sure there's good separation between subject and background
- Aim for contrasty edges — the phone needs to detect where the subject ends
Best Apps for Background Blur (No Photoshop)
Camera Settings Quick Reference
📷 Quick Settings for Maximum Blur
Common Mistakes to Avoid
Do This
- Use a fast prime lens (50mm f/1.8 is best value)
- Shoot in Aperture Priority mode
- Check your background for distractions
- Move your subject away from walls
- Focus on the eyes in portraits
Avoid This
- Using the kit lens at f/5.6 expecting blur
- Shooting subjects against a wall
- Forgetting to check what's behind your subject
- Using Auto mode — it won't prioritize wide apertures
- Relying only on post-processing to fix a cluttered background
When Background Blur Isn't Always Better
While shallow depth of field is a powerful tool, it's not always the right choice. Environmental portraits that tell a story often benefit from keeping some background context visible. For landscapes, architecture, and street photography, you generally want everything sharp . Learn to use blur intentionally, not automatically.
Final Thoughts
Mastering background blur is one of the fastest ways to elevate your photography from snapshots to professional-looking images. The techniques here work with any camera — from a flagship mirrorless to a basic DSLR to a smartphone .
The key is understanding the relationship between aperture, distance, and focal length. Once you grasp these concepts, you'll be able to create beautiful bokeh on demand, without ever opening Photoshop .