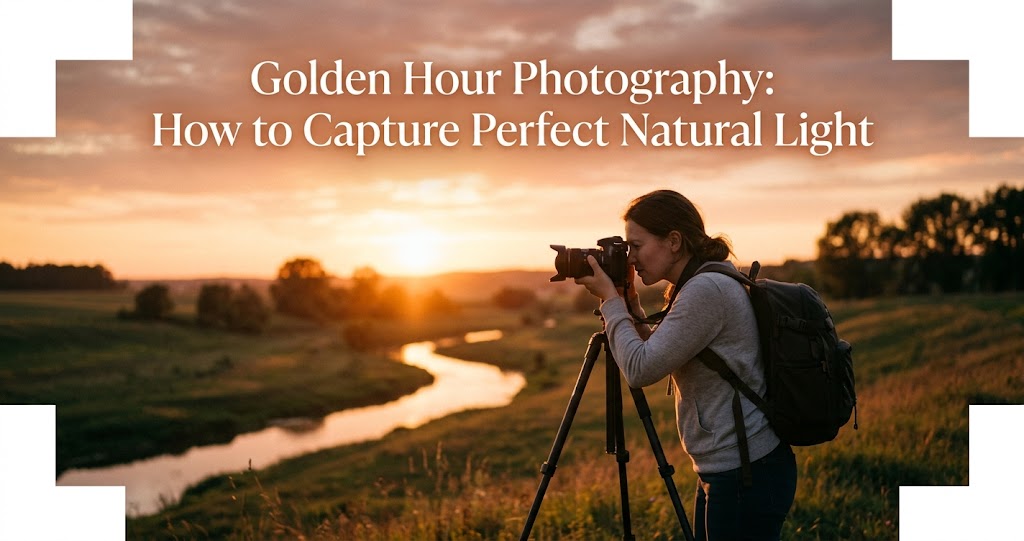
There is a specific, fleeting moment at the beginning and end of every day that photographers obsess over. It is a time defined by soft, diffused light, long shadows, and a distinctive, warm color palette that can make even the most mundane scenes look cinematic . This is the golden hour—the period shortly after sunrise and just before sunset when the sun is low in the sky, producing light that is warmer, softer, and more directional than at any other time of day .
Whether you're shooting portraits, landscapes, or street photography, mastering golden hour techniques will instantly elevate your work. In this comprehensive guide, you'll learn how to plan, shoot, and edit stunning golden hour photos—with any camera.
⏰ Understanding Golden Hour Timing
1. Know Your Golden Hour Window
Golden hour occurs twice daily: for roughly one hour after sunrise and one hour before sunset . But the exact timing varies based on your location and the season. Near the equator, it's very short; in northern or southern latitudes, it can last significantly longer .
Use planning apps: Tools like PhotoPills, The Photographer's Ephemeris, and Golden Hour One show you exact golden hour times for your location and help you visualize where the sun will be relative to your subject .
Pro tip: Arrive at your location 30–60 minutes before golden hour begins. This gives you time to set up equipment, scout angles, and test compositions before the light becomes perfect .
📷 Camera Settings for Golden Hour
Quick Reference: Golden Hour Settings
2. Don't Let Auto WB Kill the Warmth
Auto White Balance (AWB) often tries to "correct" the beautiful warm tones of golden hour, making them look gray or cool . To preserve that magic glow, switch your white balance to "Daylight" or "Cloudy" mode. The Cloudy setting actually intensifies the warmth, enhancing that golden orange glow .
If you shoot in RAW (which you absolutely should), you can fine-tune white balance in post-processing—but getting it right in-camera saves time and helps you visualize the final image while shooting.
3. Expose for the Highlights
One of the most critical golden hour techniques is setting your exposure to preserve detail in the brightest parts of the image—especially around the sun and sky . If those highlights blow out to pure white, no amount of editing can recover them.
How to do it: Use exposure compensation to slightly underexpose your shot by -0.3 to -1 stop, depending on the scene . In manual mode, watch your histogram and adjust shutter speed or aperture until the highlights are just below clipping. This keeps colors rich and prevents blown-out areas.
💡 Mastering Golden Hour Lighting Techniques
4. Work with Light Direction
The direction of light relative to your subject completely changes the mood of your photo. During golden hour, you have three primary options :
Backlighting is perhaps the most popular golden hour technique. Position your subject between you and the sun to create a glowing rim light around their hair and shoulders—this separates them beautifully from the background . The challenge: faces may be underexposed. Use a reflector or fill flash to bounce light back onto them .
Front lighting is easiest for beginners. Have your subject face the sun—the last few minutes before sunset provide soft, golden light that won't cause squinting . Colors appear vibrant and warm.
Side lighting creates dramatic shadows and emphasizes texture. Perfect for landscapes and moody portraits—think "Rembrandt lighting" with that characteristic triangle of light on the cheek .
5. Create Rim Light and Sunflare
When backlighting your subject, the more light you let stream directly into your lens, the more haze and sunflare you'll get in your images . These aren't always undesirable—creative flare can add a dreamy, ethereal quality to your shots .
To create that beautiful rim of light around your subject, position them so the sun is directly behind them, ilSHOTAVIXting their outline . Use a wider aperture (around f/2.8) to let the background go slightly soft and dreamy.
Sunstar effect: Stop down your aperture to f/16 or f/22 and partially obscure the sun behind a tree branch or building. This creates a pleasing starburst effect that adds magic to landscapes .
6. Use Reflectors to Shape Light
Even during golden hour, shadows can fall across faces when backlighting. Reflectors bounce warm light back onto your subject, filling in shadows gently while preserving that natural golden glow .
The closer the reflector is to your subject, the more it fills shadows—giving you control over the lighting in your shot . Gold reflectors add extra warmth; silver adds punchy highlights.
🎨 Composition and Creative Techniques
7. Capture Dramatic Silhouettes
Silhouettes are a staple of sunset photography—and golden hour is the perfect time to create them . To achieve this, expose for the brightest part of the sky (the highlights). This causes your foreground subject to fall into complete darkness.
Key to great silhouettes: Ensure your subject has a distinct, recognizable shape. A person standing straight-on can look like a blob; a profile, a person in action (jumping, walking, arms outstretched), or a subject with interesting contours works much better .
8. Use Water for Double the Color
If you're near water, wet sand, or even glass buildings, golden hour is the best time to capture reflections . The low angle of the sun means light reflects off the surface directly toward your camera, doubling the color intensity in your frame. Puddles after rain become instant mirror studios for cityscapes and sunsets.
9. Include Strong Foreground Elements
A beautiful sunset sky isn't enough—you need a compelling foreground to give the viewer a sense of scale and depth . Rocks, piers, trees, flowers, or a person create visual anchors that make the composition feel intentional and immersive .
Shoot through flowers or branches to create a three-dimensional feel, making the viewer feel like they're stepping into the scene .
📥 Post-Processing Golden Hour Photos
10. Edit Lightly to Preserve the Glow
The goal of editing golden hour photos isn't to dramatically change the image—it's to enhance the natural beauty you captured . Thoughtful adjustments help your photos reflect how the moment felt, not just how the camera saw it .
Editing tips:
- Fine-tune white balance to enhance warmth without making skin tones unnatural
- Use Vibrance rather than Saturation—it boosts muted colors without oversaturating skin
- Recover highlight details and lift shadows slightly to reveal foreground texture
- Use graduated filters to darken the sky or warm up the foreground
- Apply Dehaze carefully to bring back clarity without losing softness
📋 Golden Hour Dos and Don'ts
Do
- Arrive early and scout locations beforehand
- Use a tripod for sharp shots as light fades
- Shoot in RAW for maximum editing flexibility
- Keep shooting after sunset—blue hour adds magic
- Use exposure compensation to preserve highlights
Don't
- Rely on Auto White Balance—it kills the warmth
- Pack up the moment the sun sets
- Ignore the foreground—a great sky needs an anchor
- Shoot with a dirty lens—flare highlights every speck
- Over-edit and make the image look artificial
🚀 Your Golden Hour Practice Plan
- Week 1: Use apps to find golden hour times. Scout one location and shoot for 30 minutes straight.
- Week 2: Practice backlighting—take 20 portraits with the sun behind your subject. Use a reflector to fill shadows.
- Week 3: Focus on landscapes. Shoot at f/11 with a tripod, experimenting with sunstars and foreground elements.
- Week 4: Stay through blue hour. Compare shots from golden hour and the 20 minutes after sunset.
Final Thoughts: Embrace the Magic
Golden hour photography isn't just about technique—it's about learning to see light differently. As one photographer put it, "Chasing the light isn't just about finding it—it's about learning to see it" . Once you do, you'll never want to shoot in harsh midday sun again.
The quality of light during this short window is unmatched in its ability to evoke emotion and transform ordinary scenes into extraordinary memories . By planning your shoot, understanding your camera settings, and experimenting with different lighting directions, you can consistently capture images that glow with warmth and life.