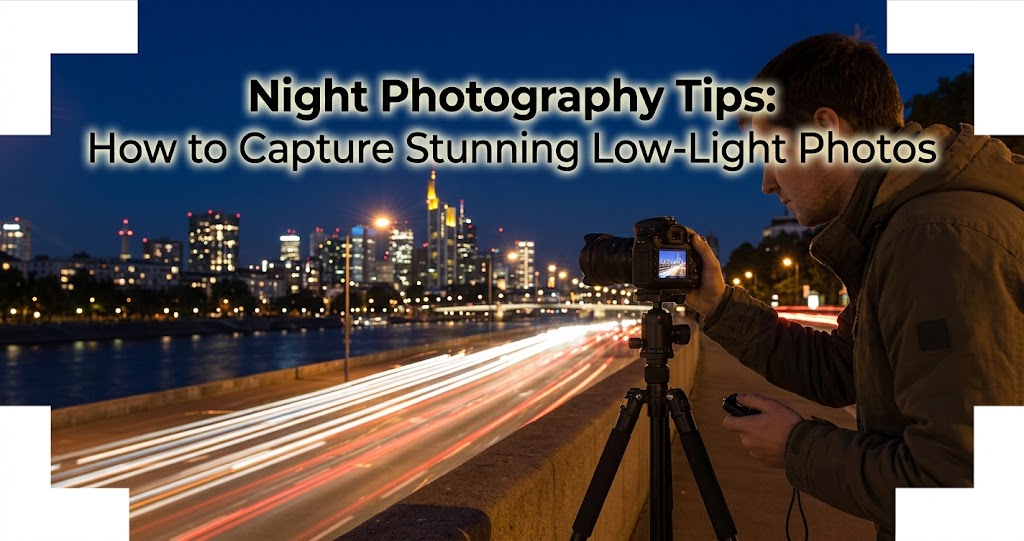
The sun goes down, the stars emerge, city lights flicker on—and suddenly, the world becomes a photographer's playground. Night photography opens up a whole new world of possibilities—from car light trails to light painting and dramatic silhouettes . It's a genre that challenges your technical skills and rewards your patience, letting you capture some of the most dramatic, awe-inspiring scenes in photography .
Many beginners feel intimidated by shooting after dark. If you've ever tried and come home with black frames or blurry stars, you're not alone. Night photography has a learning curve, but with the right approach, you'll be creating stunning low-light images in no time . In this comprehensive guide, you'll learn essential night photography tips, including recommended gear, camera settings, composition techniques, and editing secrets to help you confidently capture everything from stars to cityscapes.
📷 Essential Gear for Night Photography
1. The Tripod Is Non-Negotiable
This one's non-negotiable. No matter how steady your hands are, a tripod is crucial for night photography . You'll be working with slow shutter speeds to gather enough light, which means any camera movement will result in blur. A solid tripod eliminates that issue and gives you more control over your composition .
If you're just getting started, you don't need the most expensive model, but it's worth investing in one that's stable, well-built, and rated for your camera's weight. Flimsy tripods cause vibrations, and vibrations ruin night shots .
Pro tip: If it's windy, hang your camera bag from the center hook to add weight and stability .
2. Choose the Right Camera & Lens
It's not about having the newest or most expensive gear, but your camera and lens combo needs to meet a few criteria :
- Manual control of ISO, aperture, and shutter speed
- Good high ISO performance (for less noise at night)
- Wide-angle lens (12–20mm is ideal)
- Fast aperture (f/2.8 or wider preferred)
You can shoot with slower lenses like f/4, but you'll need to raise ISO, which increases noise . For night sky photography, lenses with very low coma aberration—like Irix's 11mm f/4 or 15mm f/2.4—are prized for their sharpness from the widest aperture .
3. Remote Shutter & Headlamp
Remote shutter: A remote shutter isn't mandatory, but it's definitely useful. Pressing the shutter button directly can introduce camera shake—even if you're using a tripod. A remote (or your camera's built-in timer) avoids this and helps you get tack-sharp results . If you don't have one, a 2-second self-timer works great .
Headlamp: Setting up in the dark is part of the challenge, and a headlamp makes everything easier—from finding your gear to composing and focusing. Look for one with red-light mode so you don't lose your night vision .
⚙️ Camera Settings for Night Photography
Quick Reference: Night Photography Settings
4. Open Your Aperture (But Know When to Stop Down)
For night photography, your lens needs to stay wide open for maximum light gathering—meaning an aperture of f/2.8 or faster for stars and Milky Way shots . This maximizes the light your camera can capture, allowing you to use faster shutter speeds and reduce ISO noise .
However, for cityscapes and landscapes with many light sources, values from f/8 to f/16 are often used. Such a smaller aperture maximizes sharpness across the frame and creates a "starburst" effect on point light sources .
5. Don't Fear High ISO (But Know Its Limits)
You might recall that a fundamental guideline for landscape photography is to always keep the ISO as low as possible to reduce noise. At night, that won't work. Instead, you'll need to increase ISO to 1600, 3200, or even 6400, depending on how dark your scene is .
Here's a good starting point :
- Moonlit scenes: ISO 800–1600
- Starlit scenes / Milky Way: ISO 3200–6400 (sometimes higher)
- Cityscapes on a tripod: ISO 100–400 (use long exposure instead)
Take a test shot, review the histogram, and adjust as needed . Modern cameras handle high ISO much better, and AI-based noise reduction in post-processing can work wonders .
6. Master the 500 Rule for Sharp Stars
The longer your shutter is open, the more light you'll collect—but also the more chance for star trails if it's too long .
The 500 Rule: 500 ÷ focal length (in mm) = maximum shutter time (in seconds) .
For example, with a 20mm lens: 500 ÷ 20 = 25 seconds. This gives you the longest exposure before stars start to trail due to Earth's rotation .
🌃 Creative Night Photography Techniques
7. Capture Magical Light Trails
Nothing screams "I know what I'm doing" like a shot with glowing streams of red and white lights trailing through the frame .
- Find a busy road with interesting traffic flow
- Use a tripod and set shutter speed to 5–20 seconds
- Aperture around f/8–f/11 for sharpness and starbursts
- ISO 100–400 (keep it low)
- Use a remote shutter or self-timer
A static subject like a bridge, bench, or building stays sharp, while moving lights turn into glowing streaks .
8. Experiment with Light Painting
When darkness meets long exposures, the result is a canvas for drawing with light. All you need is a headlamp, sparklers, or even your phone .
Set your camera's shutter speed to a few seconds, place the camera on a tripod, trigger the self-timer, and "paint" in the air with light . You can write words, trace glowing outlines around a friend, or create spirals around a tree .
Pro tip: The darker the background, the clearer the light painting. Look for places like the edge of a forest or a deserted road .
9. Create Dramatic Silhouettes
Channel the atmosphere of an old black and white film. Let shadows, outlines, and dramatic tension take center stage .
Shoot against the light, play around with angles, layered shadows, or reflections in water and wet pavement . Position your subject against a light source, like the setting sun or a streetlamp, and expose for the light in the background .
Throw a person in your shot—better yet, ask them to wear a hoodie and look mysterious. Suddenly your cityscape isn't just pretty—it's a story .
10. Shoot During Blue Hour
The best night photos aren't always taken at night. Plot twist! The blue hour—that brief, magical moment right after sunset or just before sunrise—is the real MVP .
During blue hour (about 30–60 minutes after sunset), the sky is a deep, dark blue instead of black . The sky still has color, city lights are on, and your camera won't cry in frustration .
This is the perfect time for cityscapes, light trails, and any shot where you want detail in both the sky and the city lights.
📍 Composition & Finding Your Shot
11. Use Available Light to Guide Composition
Use available light to guide your composition. Find edges, shadows, and reflections. Instead of fighting the darkness, let it shape your photo .
Composition ideas for night photography :
- Silhouettes and backlit figures
- Reflections on wet surfaces or puddles
- Isolated light sources (a single streetlamp)
- Minimalist negative space
- Symmetry—cities love to show off with symmetrical bridges and buildings
Think small: a distant train, someone scrolling their phone in the dark, or a lone figure under a streetlight . Let the scene breathe .
12. Master Manual Focus at Night
Autofocus often struggles in low light. Here's how to nail focus every time:
Starlight View: Many modern cameras (like Nikon Z series) have a Starlight View mode that brightens the display, making focusing in extreme low light much easier .
Live View magnification: Use your camera's live view, zoom in 5–10x on a bright star or distant light, and adjust focus manually until it's sharp .
Focus peaking: Enable focus peaking (usually red or white highlights) to see exactly what's in focus .
📥 Post-Processing Night Photos
13. Edit with a Light Touch
Night photography doesn't really come to life until you get home, fire up Lightroom, and whisper sweet adjustments to your RAW files .
Editing do's and don'ts :
Do
- Increase exposure moderately
- Use tone curves to keep contrast
- Boost contrast and clarity to make lights pop
- Stay close to natural colors
- Use noise reduction gently
Don't
- Don't overuse noise reduction or sharpening
- Don't oversaturate your image
- Avoid making your photo look artificial
- Don't flatten the depth—night photos should feel layered
Adjust contrast and tone curves to keep the depth in your shot. Night photos should feel layered .
⚠️ Common Night Photography Mistakes to Avoid
- Shooting handheld: Stop. Get a tripod .
- Overexposing lights: If your highlights look like exploding suns, shorten your exposure or lower ISO .
- Underexposing everything else: City lights are bright, but don't forget the dark corners of your frame .
- Forgetting to shoot RAW: JPEGs are fine for selfies. RAW is your best bet for rescuing exposure and color later .
- Leaving stabilization on: If you use a tripod, turn off image stabilization—the mechanism can generate micro-vibrations that blur sharp lights during long exposures .
- Relying on auto white balance: City lights—especially old sodium lamps—tend to pour yellow-orange all over your image. Go manual with your white balance .
🚀 Your Night Photography Practice Plan
- Week 1: Master the basics—use a tripod, shoot in Manual, practice the 500 rule with stars.
- Week 2: Head to the city and practice light trails. Experiment with different shutter speeds.
- Week 3: Try light painting in a dark location. Get creative with sparklers or flashlights.
- Week 4: Combine techniques—shoot a silhouette during blue hour with light trails in the background.
Final Thoughts: Embrace the Night
Night photography isn't about perfection. It's about embracing the chaos, the color, and the unique atmosphere that only comes after dark . The key to success is patience and preparation: learn to control basic exposure parameters, use a sturdy tripod and remote release, and experiment with composition and light .
Start local. Your backyard, a balcony, the street outside your building. Night photography is about patience, trial, and a little curiosity .