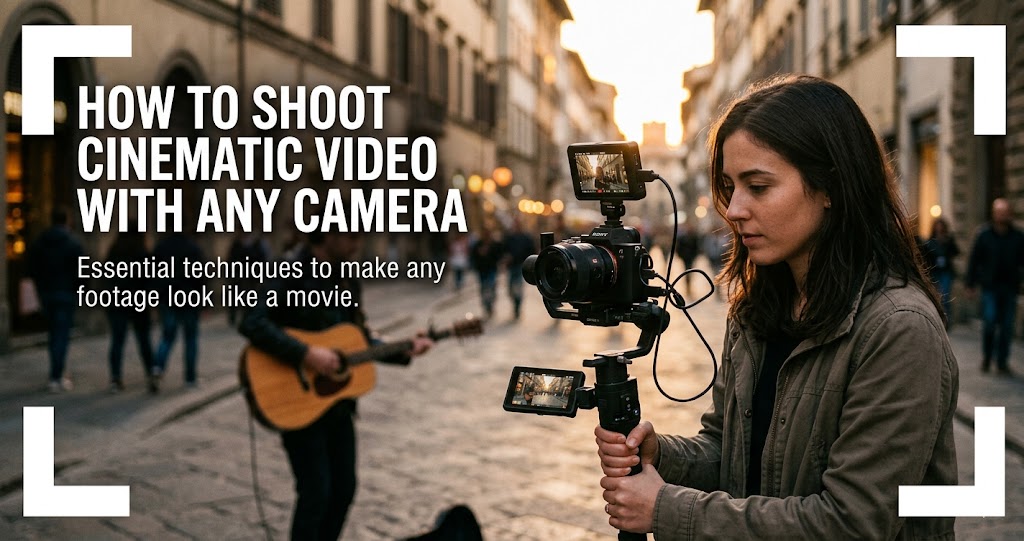
Cinematic videography isn't about owning the most expensive camera; it's about seeing the world like a filmmaker. Every shot captured holds the power to tell a story, capturing moments in travel vlogs, short films, or brand videos with intention and style . True cinematic footage emerges through careful choices in framing, movement, lighting, and sound .
In 2026, creators are slowing down, embracing texture, and focusing on stories that actually mean something . The "perfect edit" is being replaced by the "honest one." This guide will help you master essential methods to elevate your shots and create high-impact visuals that capture attention—with any camera you own .
The Foundation: Camera Settings for Cinematic Video
1 Shoot at 24fps for That Classic Film Look
Capturing footage at 24fps recreates the motion cadence of traditional films, producing natural and familiar movement . This frame rate has been the standard for Hollywood for nearly a century—it's what audiences subconsciously associate with cinema.
Higher frame rates like 60fps or 120fps are ideal for slow-motion sequences, enabling detailed observation without introducing motion stutter . For regular narrative footage, stick to 24fps.
2 Follow the 180-Degree Shutter Rule
The 180-degree shutter rule states that shutter speed should be double the frame rate to ensure natural motion blur . For example, 24fps requires a 1/50 sec shutter speed. 30fps requires 1/60 sec. 60fps requires 1/120 sec.
Using faster shutter speeds produces a staccato effect, suitable for high-action sequences or stylized scenes (think Saving Private Ryan). Slower shutter speeds create exaggerated blur for dreamy or ethereal visuals, but risk softness or ghosting in fast motion .
Pro tip: In bright daylight, use neutral density (ND) filters. They allow wide-aperture shooting while maintaining the correct shutter speed, preserving cinematic motion blur without overexposure .
3 Shoot Flat for Maximum Grading Flexibility
Shooting in flat, Log, or RAW profiles preserves maximum dynamic range in shadows and highlights . These profiles provide flexibility for color grading, allowing control over contrast, saturation, and tonal balance to craft the best cinematic videos .
If your camera doesn't have Log profiles, use a Neutral or Flat picture style with contrast and saturation turned down. This gives you more room to grade in post-production.
4 Keep ISO Low, Light Intelligently
ISO settings control sensor sensitivity. Keeping ISO low (100–400) reduces noise and preserves fine image detail . In low-light environments, adjust aperture and shutter speed first, then ISO as a last resort .
Remember: modern cameras handle higher ISO better than you think. Test your camera's limits before you shoot.
Quick Reference: Cinematic Settings
Lighting: The Language of Cinema
5 Master the Three-Point Lighting Setup
The three-point lighting setup is a proven technique, often used in the film industry to give video a professional look .
Budget-friendly version: Use a window as your key light, a white foam board as fill, and avoid overhead lights that create shadows under eyes .
6 Use Directional and Motivated Lighting
Use softboxes, reflectors, or flags to shape light precisely . Position lights to sculpt textures, emphasize emotion, or simulate natural environmental sources.
Motivated lighting is where light appears to originate from practical sources such as windows or lamps, enhancing realism . This technique makes your lighting feel natural and intentional.
Incorporate visible lights on set to enhance realism. Dimmer control and flags help manage light spill, keeping subjects distinct from the background .
7 Control Color Temperature for Mood
Color temperature refers to the warmth or coolness of the light . Mixing different scenic color temperatures can create tension or harmony, depending on the story's needs .
- Warm light (Yellow/Orange): Creates intimacy, warmth, and comfort
- Cool light (Blue): Adds distance, coldness, or unease
Use gels or Kelvin adjustments (3200K–5600K) to create mood. Maintain consistent color temperature across shots to prevent visual dissonance .
Composition: Framing Your Story
8 Use a Variety of Shot Sizes for Coverage
While photographers typically hunt for a single 'hero shot', video requires a different mindset known as coverage—a sequence of varied angles designed to be edited together to tell a story .
Don't forget to capture B-roll—supplemental footage essential for covering cuts in post-production and keeping the viewer engaged .
9 Apply the Rule of Thirds
The rule of thirds is the process of dividing an image into thirds (nine boxes) in order to control composition . Place key subjects or objects at the intersections to create visual interest .
Keep eyes around the top third of the frame for portraits . Leave headroom (space above the head), but be intentional about it.
10 Create Depth with Leading Lines and Layers
Leading lines direct attention toward the subject . Environmental lines like roads, rivers, or architectural features guide the viewer's eye naturally.
Layering the foreground, midground, and background creates a sense of depth that enhances immersion in cinematic videos and improves three-dimensional presence .
Negative space—strategically using empty areas—emphasizes subjects and conveys mood or tension without introducing clutter .
Camera Movement: Adding Dynamic Energy
11 Master Essential Camera Movements
Use tools like gimbals, sliders, or steadicams for smooth, stable footage . Stabilized shots eliminate shake and enable dynamic tracking essential for cinematic video .
12 Every Movement Should Be Motivated
Every camera movement should serve the story—approaching, circling, or retreating from subjects communicates emotion, perspective, and narrative focus . Random movements risk breaking viewer immersion .
Ask yourself: Why am I moving the camera here? What does this movement add to the story? If the answer isn't clear, hold the shot static.
13 Never Cross the Line: The 180-Degree Rule
The 180-degree rule is a filmmaking guideline that sets an imaginary line between characters in order to ensure consistent orientation . If you "cross the line," you may disrupt the audience's understanding of spatial relations in the scene .
Once you establish the axis of action (e.g., two characters talking), keep your camera on one side of that imaginary line. This maintains screen direction and prevents viewer confusion.
Storytelling: The Heart of Cinema
14 Plan with Storyboards and Shot Lists
A storyboard is a visual plan of your video. Each frame (or slide) represents a shot or scene . In a storyboard, include: visuals (a sketch of what the viewer sees), audio (notes on narration, sound effects), and camera movement/angles .
You can hand-draw your storyboard, use Canva, Google Slides, or find online templates. For faster planning, use a two-column script (visuals | audio) .
15 Master the Script and Storytelling
Before you even pick up a camera, it's important to get a comprehensive understanding of a script and storytelling . A thorough understanding allows you to make more informed decisions about narrative-aligned framing, lighting, and camera movements .
- Read the script multiple times to identify key moments that need to be highlighted visually
- Collaborate with your director on visual style alignment
- Use camera angles, lighting, and movement to underscore the character's emotional journey
Post-Production: Color and Sound
16 Grade with Intent
Contrast, hue, saturation, and exposure adjustments unify the visual style . Using LUTs (Look-Up Tables) strategically creates professional tones while preserving highlight and shadow detail .
Maintaining exposure, white balance, and tonal cohesion across scenes ensures visual continuity, preventing breaks in cinematic immersion . Consistency strengthens the overall professional look of the project .
Software recommendations: DaVinci Resolve (free), Final Cut Pro, Adobe Premiere. The free version of Resolve is incredibly powerful for color grading.
17 Elevate with Music and Sound Design
The right music can either make or break a scene . It has the power to amplify emotions and add visual depth .
- Mood matching: Choose music that complements the emotional scenic tone
- Syncing music with movement: Timing music cues to screen action elevates drama
- Using silence: Sometimes, the absence of music speaks volumes, allowing visuals to stand alone
For royalty-free music, consider paid services like Artlist, Epidemic Sound, or Soundstripe—they save time and offer higher quality than free alternatives .
18 Export in H.264 for Universal Compatibility
The format to export to is H.264. This is a universal format (like JPG) that can be read by virtually all computers and phones .
At a minimum, you should shoot in 4K—this ensures that even when you crop for vertical formats (Instagram/TikTok), you retain at least 1080p resolution .
2026 Trends: The New Cinematic Aesthetic
19 Embrace Authenticity and Imperfection
In 2026, emotion beats spectacle, and authenticity wins over aesthetics . After years of polished video perfection, viewers are craving videos that feel organic and real—not overproduced .
The "perfect edit" is being replaced by the "honest one." Think subtle camera shakes, imperfect lighting, and raw behind-the-scenes cuts that make audiences feel closer to the creator .
Keep in those little moments that make your footage feel alive—background noise, candid reactions, natural motion .
20 Use Analog Textures for Emotional Connection
In 2026, we're witnessing a full-on revival of analog aesthetics: grainy textures, warm tungsten lighting, VHS overlays, and 1980s-inspired sets that evoke the feeling of rediscovered home videos .
It taps into something deeply human: memory, imperfection, and the comfort of the familiar . Embrace imperfections, film grain, vintage typography, and slower pacing. Analog nostalgia connects because it feels real, even when it's digitally recreated .
Common Mistakes to Avoid
Do
- Use 24fps and 1/50s shutter for cinematic motion
- Light with intention—three-point lighting transforms any scene
- Plan with storyboards and shot lists
- Capture coverage: wide, medium, close-up
- Motivate every camera movement
- Shoot flat/Log for grading flexibility
- Keep ISO low and use ND filters in daylight
Don't
- Don't rely on auto white balance—it kills mood
- Don't cross the 180-degree line unless intentional
- Don't shoot everything wide open—vary your depth of field
- Don't forget B-roll—you'll need it for editing
- Don't mix color temperatures unintentionally
- Don't over-edit—2026 is about authenticity
Your 7-Day Cinematic Challenge
- Day 1: Master the settings—shoot at 24fps, 1/50s, flat profile. Compare to your usual settings.
- Day 2: Practice three-point lighting with household items (window as key, foam board as fill).
- Day 3: Shoot coverage of a simple scene—wide, medium, close-up, over-the-shoulder.
- Day 4: Practice camera movements—pan, tilt, dolly, tracking. Use a gimbal or slider if available.
- Day 5: Create a 30-second storyboard and shoot exactly to plan.
- Day 6: Color grade your footage in DaVinci Resolve—aim for a consistent look.
- Day 7: Edit a complete 1-minute cinematic sequence with music and sound design.
Final Thoughts
The choices you make—lighting, camera angles, and lens selection—have the power to shape how a story is perceived, capturing attention and leaving a lasting impression . Bringing these creative decisions together into compelling visual narratives requires experience, technical expertise, and a cinematic approach .
In 2026, storytelling is taking back center stage, with cinematic brand films and personal projects building emotional connections instead of shouting messages . The gap between "amateur" and "professional" is no longer defined by the gear you own, but by the workflow you master .
Don't be put off by the complexity. The best way to learn is simply to practice . Make a short film: storyboard in an hour, cast friends, shoot for a few hours, edit for a few hours. In just a day's work, you'll learn an incredible amount and likely have a lot of fun in the process .