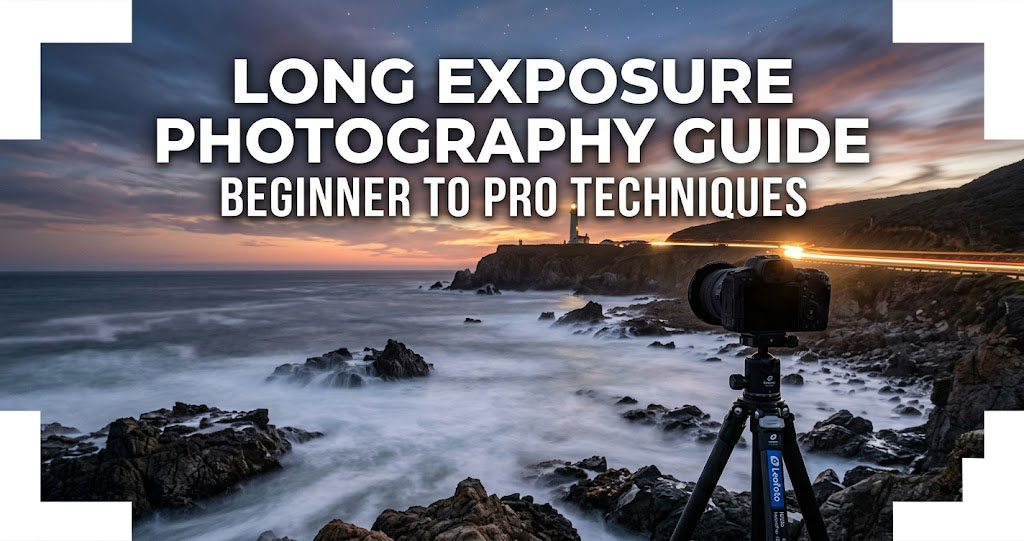
Long exposure photography has a way of transforming ordinary scenes into something extraordinary. A bustling city street becomes a ribbon of glowing light trails. A rocky shoreline turns into a dreamy, misty landscape. Even a simple waterfall can become a silky, flowing masterpiece with just the right exposure .
This technique allows photographers to capture the essence of movement by keeping the camera's shutter open for an extended period, revealing the unseen and transforming the fleeting into the enduring . Whether you're a complete beginner or an experienced shooter looking to refine your skills, this comprehensive guide covers everything from essential gear and camera settings to advanced creative techniques and post-processing.
What is Long Exposure Photography?
Long exposure photography involves using a slow shutter speed to record a scene over an extended period—anywhere from half a second to several minutes . Instead of freezing a moment, long exposures reveal movement: clouds drifting, waves breaking, water flowing, or lights streaking across a roadway .
The three main settings that control exposure are shutter speed, aperture, and ISO. For long exposures, shutter speed is the star of the show . The slower it is, the more light enters the camera. To keep your image from being overexposed, you'll need to balance this with a smaller aperture (higher f-stop number) and a low ISO to reduce noise .
Essential Gear for Long Exposure Photography
1 A Sturdy Tripod Is Non-Negotiable
The foundation of any successful long exposure setup is a sturdy tripod . As the camera's shutter remains open for an extended period, even the slightest movement can result in blurred or distorted images . A robust tripod ensures that your camera remains motionless throughout the exposure, preserving the sharpness and integrity of your final image .
Pro tip: In windy conditions, hang your camera bag from the center hook to add weight and stability .
2 Use a Remote Shutter Release or Self-Timer
Even the simple act of pressing the shutter button can introduce unwanted camera shake, compromising the clarity of your long exposure shots . To circumvent this issue, a remote shutter release is an indispensable accessory .
If you're on a budget, simply using your camera's built-in 2-second self-timer can work just as well to avoid camera shake when pressing the shutter button .
3 Neutral Density (ND) Filters: Your Secret Weapon
In the realm of long exposure photography, neutral density (ND) filters are akin to sunglasses for your camera's lens . These specialized filters reduce the amount of light entering the camera, allowing you to extend the shutter speed without overexposing the image .
Why you need them: In bright daylight, even at ISO 100 and f/11, shutter speeds won't be slow enough . A 6‑stop or 10‑stop ND filter allows for exposure times of several seconds or more .
ND8 (3 stops)
Subtle motion blur, perfect for 1/5 sec exposures to retain texture in waterfalls
ND64 (6 stops)
Ideal for daylight long exposures, smoothing water and clouds
ND1000 (10 stops)
Extreme light reduction for 30+ second exposures, creating silky water and ethereal effects
Soft GND Filters
Balance bright skies with darker foregrounds during sunrise/sunset
4 Add a Polarizer for Glare Reduction
Combining a circular polarizer with your ND filter can elevate your daytime long exposure images by cutting through surface glare on water and boosting sky contrast . This is especially helpful when photographing rivers, waterfalls, or coastal scenes in bright sunlight .
Quick Reference: Long Exposure Settings
Mastering Camera Settings
5 Start with a Base Exposure Test
Before attaching your ND filter, take a test shot without it to establish a correct exposure . Set your camera to Manual or Aperture Priority mode with aperture f/8–f/16 and ISO 64/100 . Make a sharp, well-exposed test shot and note the shutter speed .
Calculate with ND: Use a filter calculator app or table to determine the new shutter speed based on the filter's strength. For example, if the test shot required 1/60s and you use a 6‑stop ND filter, the new shutter speed should be around 1–2 seconds .
6 Focus Carefully and Switch to Manual
Once you've composed your shot, focus on a static element (like a rock or distant building) and then switch your lens to manual focus . This prevents the camera from trying to refocus during the long exposure .
After focusing, attach your ND filter. If you're using a DSLR, cover the viewfinder to prevent light leaks that can ruin the exposure .
7 Use Bulb Mode for Exposures Over 30 Seconds
For exposures longer than 30 seconds, you'll need to switch to Bulb mode . This allows you to hold the shutter open for as long as you need—minutes or even hours . Use a remote shutter release or cable release to open and close the shutter manually .
8 Turn Off Image Stabilization on Tripod
When your camera is mounted on a tripod, turn off image stabilization (VR/IS/IBIS) . The stabilization mechanism can generate micro-vibrations that blur sharp lights during long exposures .
Shutter Speed Guide by Subject
Composition for Long Exposures
9 Anchor the Frame with Static Elements
The key to a successful long exposure is juxtaposing stationary objects with a dynamic sky or moving water . This creates tension and conveys the sense of time passing .
Always build around the three layers: foreground, midground, background . Get low and close for impact—foreground rocks can add incredible depth .
10 Use Leading Lines and Rule of Thirds
Leading lines—roads, rivers, light trails—guide the viewer's eye through the photo . Position horizons or points of interest along grid lines for balanced compositions .
11 Work with Tides and Light
Your composition can be completely transformed by the tide level . High tide might create smoother reflections, while low tide can expose foreground textures .
Check tide charts before heading out. Apps can help you plan the perfect conditions .
Creative Techniques by Subject
12 Silky Water and Seascapes
Long exposure waterfall photography shows silky, flowing water . For seascapes, use slow shutter speeds to smooth out crashing waves . In bright daylight, combine an ND filter with a polarizer to cut glare on water .
13 Let Clouds Drift for Captivating Skies
Long exposures let clouds appear as softer and more fluid structures . For subtle cloud movement, 30 seconds works well . For dramatic, streaked clouds, aim for 2–5 minutes .
14 Night Photography: Light Trails and Star Trails
Long exposure night photography captures star trails or car light trails . For light trails, choose shutter speeds around 10–20 seconds . For star trails, use an intervalometer to capture multiple 30-second exposures and stack them in post-processing to show the rotation of the Earth .
15 Daytime Long Exposures
Daytime long exposure photography transforms ordinary daylight scenes into dreamy, ethereal images . You'll need a strong ND filter (ND64 or ND1000) to shoot in bright daylight . Use your histogram to prevent blown highlights, as bright conditions can easily lead to overexposure .
16 Combine Filters for Maximum Flexibility
Professional photographers often combine filters to handle any light situation . For example, in a high-contrast seascape at golden hour, stack a Soft GND 16 to control the sky and an ND 1000 to turn waves into silky textures .
Post-Processing Long Exposures
17 Edit with Restraint
Post-processing is an essential part of long exposure photography . Start with these steps:
- Adjust exposure and contrast
- Refine white balance
- Use HSL for color control
- Reduce noise and sharpen details
- Remove distracting elements
- Add subtle vignettes or crops
Advanced techniques: Exposure blending using luminosity masking can help balance high-contrast scenes . High-end editing methods like HDR blending can turn your shots from good to great .
Common Mistakes to Avoid
Do
- Use a sturdy tripod on firm ground
- Take test shots without ND filters first
- Use a remote shutter or 2‑sec timer
- Switch to manual focus after locking focus
- Check the histogram to protect highlights
- Turn off image stabilization on tripod
- Cover the viewfinder (DSLR) to prevent light leaks
- Experiment with different shutter speeds
Don't
- Don't handhold—stability is everything
- Don't rely on auto white balance—it kills the mood
- Don't ignore wind that can shake the tripod
- Don't forget to check for moving static elements (trees, grass)
- Don't overexpose highlights—use your histogram
- Don't use autofocus with ND filters attached
- Don't be afraid of mistakes—each image teaches you something
Your 7-Day Long Exposure Challenge
- Day 1: Practice with moving water. Find a fountain or stream and shoot at 1s, 5s, and 10s. Compare results.
- Day 2: Master ND filters. Use an ND1000 in daylight to capture cloud movement.
- Day 3: Night photography—find a busy intersection and shoot light trails at 10–20 seconds.
- Day 4: Seascape day. Visit a coast and use a 6‑stop ND filter to smooth waves.
- Day 5: Combine filters. Try GND + ND for a sunrise/sunset scene.
- Day 6: Star trails—shoot 100+ 30-second frames and stack them.
- Day 7: Edit your best five images from the week, applying noise reduction and contrast adjustments.
Final Thoughts
Long exposure photography opens the door to endless creative possibilities. With the right gear, the right techniques, and the willingness to experiment, you can turn ordinary scenes into extraordinary works of art . The beauty of natural light is that it changes constantly, which gives you endless opportunities to experiment .
Whether you're capturing motion in clouds at sunset or the glow of traffic at night, natural light adds a layer of depth and mood that's hard to replicate . Don't be afraid to experiment, practice, and push your creativity—each long exposure image teaches you something new .